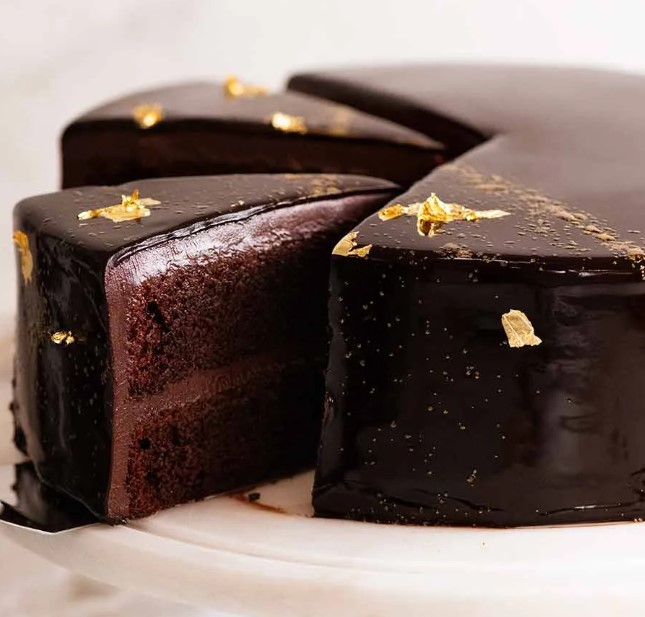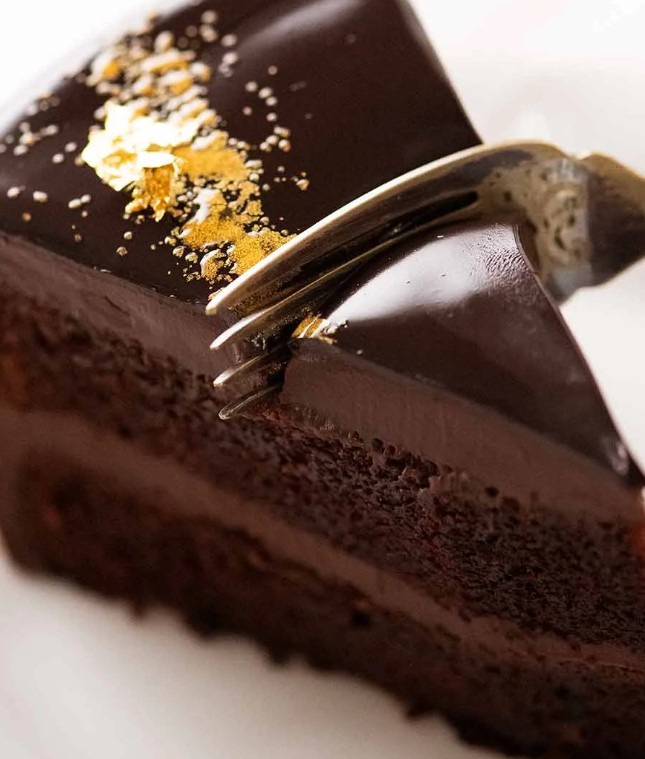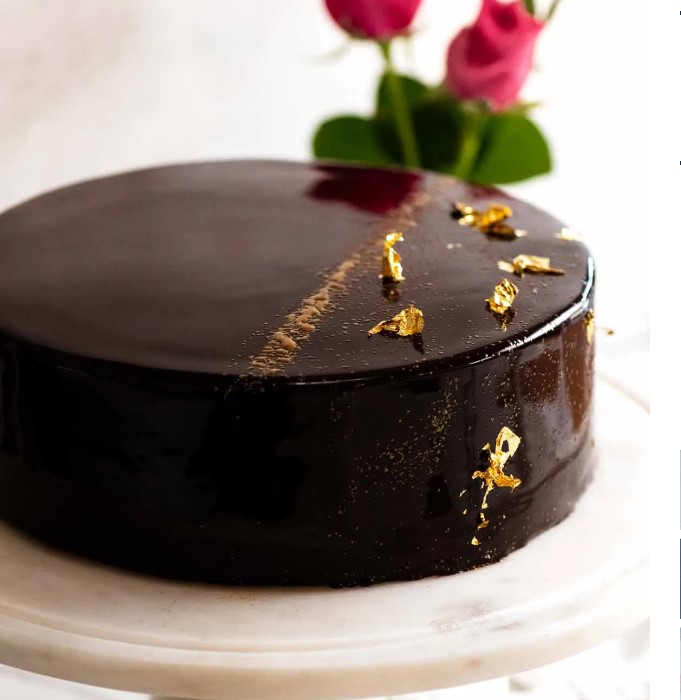
Chocolate Mirror Glaze

Ingredients
1 x 20cm / 8″ chocolate cake (2 layers) (Note 1)
2 batches Dark Chocolate Ganache (Note 2)
Gelatine for glaze:
2 1/2 tbsp water (just cold tap water)
4 tsp gelatine powder (Note 3)
Mirror Glaze:
2/3 cup water
2/3 cup cream , pure / regular whipping cream, better than thickened/heavy cream (Note 4)
1 cup cocoa powder , unsweetened, sifted (preferably dutch processed, Note 5)
1 cup + 2 tbsp white sugar , caster/superfine (Note 6)
Decorating (optional, as pictured)
Gold dust and gold leaf , optional decorations (Note 7)

Instructions
Cake and Ganache Frosting preparation:
Refrigerate cake layers for at least 1 hour until well-chilled (for easier handling). Then trim cake to make it level and frost cake with chocolate ganache so it’s smooth and level (follow the tutorial in this post: How to Frost Cakes Smoothly).
After the ganache is smooth and level, refrigerate for at least 1 hour before coating with Mirror Glaze.
Make Mirror Glaze:
Bloom gelatine: Place water in a small bowl. Then sprinkle gelatine across surface, mix just so all the powder is wet. Leave for 5 minutes – it will become like a rubber consistency. (This is called “blooming gelatine”.)
Whisk cocoa and water: Place cocoa and water in a medium saucepan then mix until virtually lump-free. It will be like a paste.
Add cream and sugar: Add a splash of cream to cocoa mix and stir. It will loosen up. Add remaining cream and sugar, then GENTLY continue to mix to combine. Do not mix vigorously and do not use a whisk (Note 7).
Bring glaze to boil: Turn stove onto medium high heat. As soon as it comes to the boil, remove from the stove.
Dissolve gelatine: Add gelatine lump, then GENTLY stir until it dissolves and you have a smooth glossy glaze. (There may be some white foam, that’s ok.)
Cool & Strain Mirror Glaze:
First straining: Using a shallow bowl and small fine mesh strainer, strain the glaze into a bowl. Pour and position the strainer so the glaze falls the smallest distance possible. If you pour from a height, this creates bubbles = bad!
Bubble check: Twist the bowl back and forth between your hands rapidly. This will make any bubbles rise and gather in the centre. If you see bubbles, see “Note 8: Bubble Troubleshooting”.
Cool glaze: Cover with cling wrap, pressing the cling wrap onto the surface of the glaze to prevent a skin from forming. Cool on the counter for 2 hours until it reaches 30°C/86°F. See Note 9 for overnight refrigeration.
Second straining: Just before pouring over the cake, strain the glaze into a jug. As before, tilt the jug and strainer as you pour the glaze in to minimise the distance the glaze falls.
Glazing!
Transfer cake to rack: Remove cake from fridge, transfer onto a rack. (See Note 9 for how I do it.) Place rack on a tray to catch excess glaze.
Pour over mirror glaze: Starting at the centre of the cake, pour the glaze on, moving in an expanding spiral motion gradually towards the outer edge of the cake, to make the glaze spread across the surface and drape like curtain down the sides. For the most perfect surface, try to do it in one motion without breaking the pour. Pour with confidence in a thick stream rather than a thin drizzle (which might set too quick and leave drips).
Ensure all sides are fully coated – if not, quickly do a little pour down the sides to coat the naked patches.
Transfer cake to platter: Before the mirror glaze sets (takes ~10 minutes), move the cake to a cake platter (Note 9 again for my cake-shifting method).
Fix blemishes – Use excess glaze on the tray and in the jug to fill gaps and tears. Then smooth over with a warmed palette knife (either lightly warm with a blow torch or dip into warm water and wipe). See video for demo.
How to Slice Cake Cleanly with Neat Layers:
Fill a tall jug with warm tap water. Dip a knife in, then wipe dry. Make one slice into the cake.
Clean knife, dip in warm water and dry again. Make your second cut to get your wedge. Pull wedge out and marvel at the perfect layers before continuing to cut more slices! See notes for storage.

Notes
1. Chocolate cake – The Chocolate Cake recipe I recommend is an excellent cake for a Chocolate Mirror Glaze Cake. The texture is tender but not too fragile for handling. It’s chocolatey, not too sweet, and looks and tastes sensational with the Ganache and Mirror Glaze. And importantly for first timers, the cake is a one-bowl, easy recipe and it stays moist for days – so you can break the Mirror Glaze up into stages over several days (if you want!)
2. Chocolate Ganache – You will need to make a double batch of the Dark Chocolate / semi-sweet chocolate ganache recipe in my Ganache recipe. You will end up with leftovers, it’s more about not having to recycle ganache mid-frosting which is messy.
Use the recipe scaler on the Ganache recipe. Tap on servings figure and slide until the chocolate quantity becomes 500g/16 oz.
3. Gelatine powder – Just regular gelatine powder sold in little containers at the grocery store.
4. Cream – Pure cream or what’s labelled “regular whipping cream” in the US is best and most classic, but it works just fine with thickened/heavy cream too (the glaze is a wee bit thicker, but it’s really not a problem).
DO NOT use: Light or low fat cream, cooking cream or long-life cream (ie. shelf-stable).
5. Cocoa powder – Dutch processed has a more intense chocolate flavour and colour, but is slightly more expensive. I recommend it for the best, most luxurious results. But the recipe works 100% perfectly with regular cocoa powder too.
6. Sugar – Caster/superfine sugar is best because the grains are smaller so you can be sure it will melt quickly. Regular / granulated white sugar is fine too but just double-check to ensure it’s fully melted before adding the gelatine.
7. Gold dust and gold leaf – Both are found in the baking aisle of Coles and Woolworths in Australia. Both totally edible!
8. Bubbles and lumps are the enemy of mirror glazes. So from this step onwards, every direction is designed to ensure the glaze stays perfectly glossy, smooth, lump-free and bubble-free!
Bubble troubleshooting – Bubbles are an issue with Mirror Glazes because the thick glaze means they don’t burst by naturally. They form by over-stirring and they particularly occur when reheating solidified mirror glazes. You either have to prick them on the surface one by one, OR lightly pass a blow torch across the surface which will instantly make them burst.
9. Moving cake (ie. frosted cake onto rack, then once glazed, from rack to serving platter) – See in post for step photos and video for visual demo. Use 2 x large palette or kitchen knives. Slide them under the cake, lift and transfer. Then use a butter knife to slide the palette knives out without disturbing the ganache or mirror glaze (video above is helpful to demonstrate this).
10. Glaze refrigeration or freezing – Cover with cling wrap contacting the surface, cool for 30 minutes on the counter. Then refrigerate overnight or freeze. If you freeze it, thaw first before reheating. Then reheat 30 seconds in the microwave on medium, gently stirring / breaking up jelly lumps. Microwave another 20 seconds, stir again, then in 15 second increments until it is liquid again. Reheating mirror glaze WILL create bubbles, so see Note 8 for how to remove them. Be sure to also do the Bubble Check by twisting the bowl back and forth quickly between your hands (described in Instructions).
11. Excess mirror glaze on tray – Mirror Glaze is essentially a chocolate jelly so eating it with a spoon is not that pleasant (hence why it should be a THIN layer!). So you won’t be tempted to eat it off the tray once it sets. However, if the tray is super clean, you can strain it and reuse it – see above for refrigerating or freezing. But the glaze needs to be clean and blemish-free!
12. Mirror Glaze Cake Storage:
The glazed cake can remain on the counter if the room temperature is 22°F/72°F or lower (mirror glaze melts when too warm). Otherwise, refrigerate – you don’t need to cover an uncut cake because the mirror glaze seals it!
Using the Chocolate Cake, this Mirror Glaze Chocolate Cake is perfect for 4 days, and still excellent on Day 6 (the cake is really moist).
The Mirror Glaze will remain shiny and sparkly for days – unlike ones made with condensed milk which lose their shine after a day or so.

Leave a Reply